
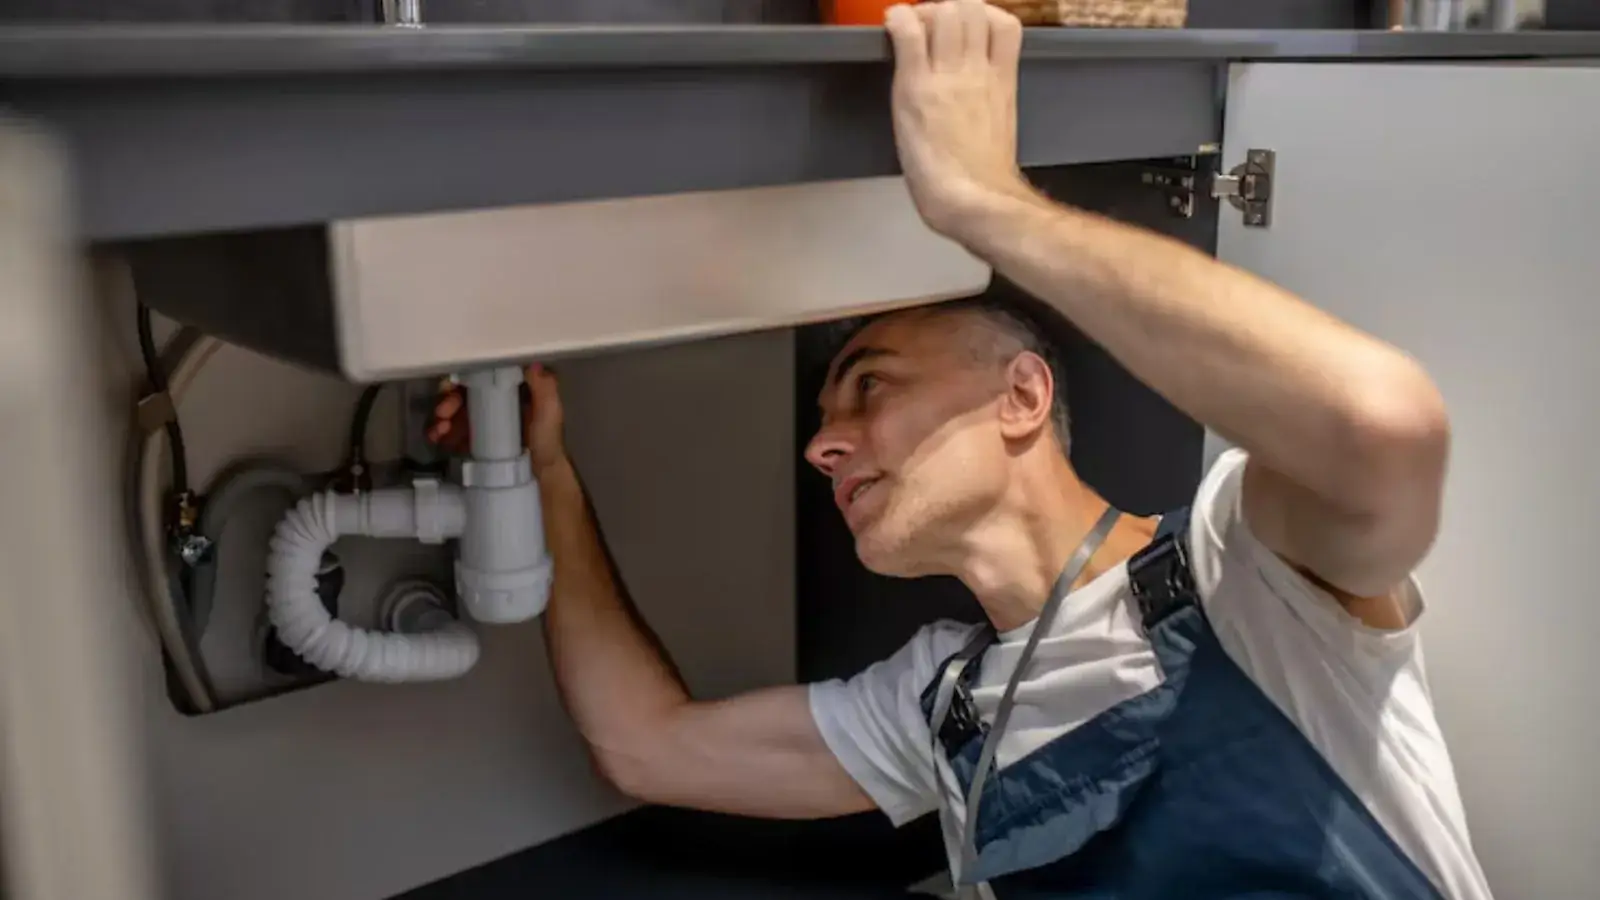
What installing a garbage disposal involves
Installing a garbage disposal means mounting a food-waste grinder to the sink's drain opening, connecting its outlet to the trap, supplying power, and proving every joint is dry. The unit replaces the basket strainer at the drain, so the sink flange, the mounting ring, and the discharge elbow all have to line up before anything gets fully tightened.
If you have swapped a faucet or a P-trap before, the plumbing half of this job is within reach. The electrical half is where people get hurt, and the cabinet is cramped enough that a helper with a headlamp is worth having. Read the whole sequence first, then decide whether this is a job for you or a call.
Gather these before you shut anything off
Everything on the counter first means the sink is out of service for as little time as possible.
- A disposal with a horsepower rating that suits the household, plus the mounting kit in the box
- Plumber's putty or the gasket that ships with the new sink flange, and a screwdriver set
- Channel-lock pliers, a hammer, and a flat screwdriver for the dishwasher knockout plug
- A new discharge gasket, and a trap arm or tailpiece extension if the old one is the wrong length
- A non-contact voltage tester and a headlamp, because the cabinet is dark
- A bucket, old towels, and a shop vacuum for the water that always waits in the trap
- A power cord kit if the unit ships without one, or a cable clamp and wire connectors if you will hardwire
Install it in this order
Work through these in sequence and do not skip ahead, because the first step protects you through all the rest.
- 1
Kill the power and lock it out
Turn off the breaker that feeds the disposal circuit, then tape over it or label it so nobody flips it back on. Confirm the outlet or junction box is dead with a non-contact voltage tester, and prove the tester works on a known live outlet first. If you cannot say which breaker feeds the sink, stop and find out before touching anything else.
- 2
Remove the old strainer or old disposal
Set a bucket under the trap and loosen the slip nuts. An old disposal comes off by turning its lower mounting ring with a screwdriver in the lugs while you support its weight. Scrape the old putty off the sink opening so the new flange can seat flat.
- 3
Seat the sink flange and mounting ring
Roll a rope of plumber's putty under the new flange's lip, or use the gasket supplied, and press the flange into the drain opening from above. From below, slide on the fiber gasket, backup ring, and mounting ring, then tighten the three mounting screws evenly until putty squeezes out. Wipe the squeeze-out and stop at snug, because a cranked ring warps.
- 4
Knock out the dishwasher plug
If the dishwasher drains through the disposal, the side inlet has a solid plug inside it that must come out. Set a screwdriver against it, tap with a hammer until it drops into the grind chamber, then fish the plug out with pliers. If no dishwasher connects, leave the plug alone.
- 5
Hang the unit
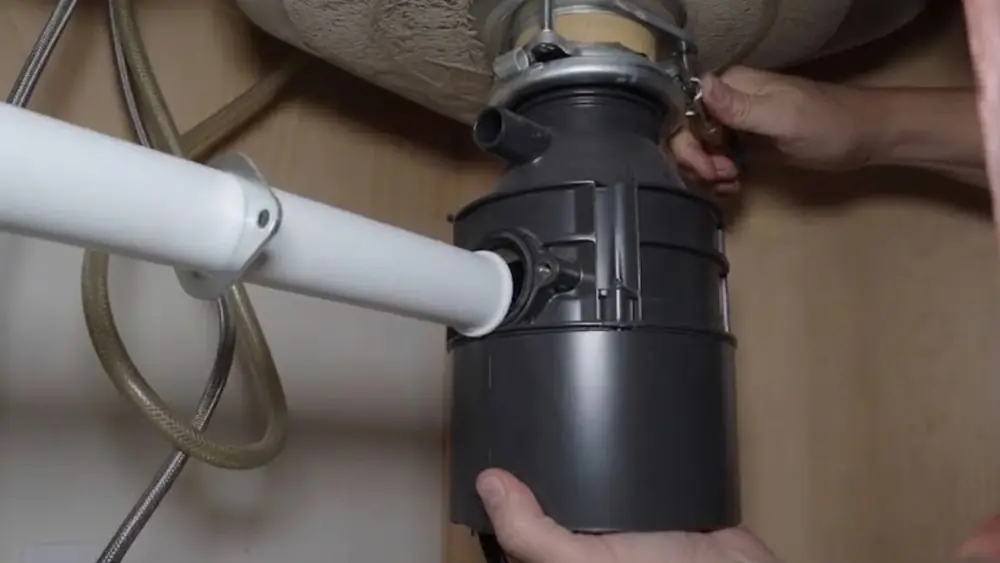
Lift the disposal under the flange, line its upper ring up with the lugs on the mounting assembly, and twist until it locks. Turn the body so the discharge outlet points toward the trap arm, since the outlet will not move once the ring is tight. Have a helper hold the weight, because the unit is heavy and awkward from below.
- 6
Connect the trap and the dishwasher hose
Bolt the discharge elbow to the outlet with its gasket, then run the trap arm to the wall stub-out so it slopes gently toward the wall. The tailpiece and P-trap should meet without being pulled sideways, because forcing a misaligned joint tight is the usual source of a slow weep. Clamp the dishwasher hose to the side inlet, looping it high under the counter before it drops to the inlet.
- 7
Connect the power
Wire or plug in the unit using the guidance in the next section, with the breaker still off. Do not restore power yet, because the leak test comes first.
- 8
Run the leak test
Put dry paper towel under the sink, plug the drain, fill the basin partway, then release it so a full flow passes through the disposal and trap. Run a dry fingertip along every joint. Restore power, run cold water, switch the unit on for a few seconds, and check again while it runs, because vibration finds loose joints that standing water misses.
Cord or hardwire: the honest answer
Many disposals ship without a cord, so the choice depends on what is under your sink now. A cord kit plugged into a grounded outlet is the simpler route, and hardwiring means landing the black, white, and ground conductors in the unit's wiring compartment and finishing with a cable clamp that keeps the cable from tugging the connections. Manufacturer instructions differ, so follow the ones in your box.
If there is no existing outlet or switch, or the cabinet wiring looks old, damaged, or ungrounded, stop here. Adding a circuit or repairing wiring is electrician work, and a wet cabinet is a poor place to learn. Whether your house needs GFCI protection depends on its wiring and the local rules, so ask the building office instead of guessing.
Stuck on the wiring or the trap?
Tell us where the job stands and what you see under the sink. A person answers around the clock and can tell you whether to keep going.
Where disposal installs go wrong
Most problems after an install trace back to one of a handful of causes. Use this to decide whether to fix it yourself or stop.
| What you see | Likely cause | Fix it yourself or call |
|---|---|---|
| Water at the top flange | Putty or gasket not seated, mounting ring loose | DIY: remove, clean, reseat, and retighten evenly |
| Leak at the side inlet when the dishwasher runs | Loose clamp or cracked hose | DIY: reclamp or replace the hose |
| Dishwasher will not drain or backs up into the tub | Knockout plug still in place | DIY: power off, drop the plug, remove it |
| Drip at the discharge elbow | Missing or pinched gasket, uneven bolts | DIY: replace the gasket and tighten evenly |
| Slow drain and gurgling past the trap | Wrong trap arm slope or a partly blocked vent | Call: slope and venting often mean cutting pipe or opening a wall |
| Hum with no grind | Jammed flywheel | DIY with power off, or see garbage disposal repair |
| Breaker trips or the cabinet smells hot | Wiring fault or failed motor | Call: stop using the unit and leave the breaker off |
Anything that involves wall plumbing, venting, or wiring beyond the unit itself is where a hired hand earns the visit.
Choosing the unit and checking the sink
Continuous-feed disposals run while you hold a wall switch on, and batch-feed models run only when a lid is twisted in place. Motor size is rated in horsepower, and a bigger motor handles tougher scraps but needs more cabinet room and costs more to run. Measure the space under the sink before you buy, including the room the discharge elbow needs.
A standard kitchen sink drain opening is about 3.5 inches across, and most disposals are made to fit it. A double-bowl sink needs the second bowl routed into the disposal's discharge or into the trap arm, so look at how the two bowls join before you start.
Do it yourself or hire it out
A swap of an existing disposal on existing wiring is a different job from a first-time install.
Reasonable to do yourself
- Replacing a disposal in the same position with a matching cord and outlet
- Reseating the flange and replacing gaskets
- Knocking out the dishwasher plug
- Replacing a trap arm or tailpiece with the same type of pipe
Better to hire out
- No outlet, switch, or grounded wiring at the sink
- A drain that slopes the wrong way or gurgles before you start
- Rusted, seized, or leaking shutoff valves you cannot move, or a faucet that is also failing (see faucet repair)
- Any smell of burning, signs of a past leak in the cabinet floor, or a cabinet that has soft, swollen wood
Prefer someone else under the sink?
We replace and repair disposals around Etna, Pataskala, and Kirkersville. Call, describe the sink, and we will line up the next appointment when one is available.
Frequently asked questions
Take it out only if the dishwasher drain hose will connect to the disposal. The plug blocks the side inlet, so a dishwasher hooked up with the plug still in place cannot drain and may back up into the tub.
If no dishwasher connects, leave the plug in and cap nothing else. Drop it into the chamber with a hammer and screwdriver, then retrieve it with pliers so it does not jam the grinder.
Horsepower is a measure of how much grinding force the motor has. A smaller motor handles ordinary plate scrapings, while a larger one copes better with heavier use and denser scraps.
Match the motor to the household's habits and the space under the sink, and remember that no motor makes it safe to send grease, bones, or fibrous peels down the drain.
Not safely as a quick job. A disposal needs power, and adding an outlet or a switched circuit means working in the electrical system, which is electrician territory.
Some homes already have a switched outlet under the sink for exactly this reason. If yours does not, have an electrician add one before you buy the unit.
Possibly, but check first. Licking County Health Department runs the county sewage treatment program, with install permits and yearly or five-year operation inspections depending on the system type. Ground-up food adds solids that a septic tank has to hold, so ask your installer or the health department whether your tank and field can take the load.
If your home is on public sewer through the water district, that concern does not apply.
A leak from the underside of the body usually means an internal seal or the housing itself has failed, not a joint you can tighten. Shut off the power, dry the unit, and run water again to find where it comes from.
If water is clearly leaving the base, the unit needs exchanging under its warranty or replacing. The top flange and the discharge elbow are the joints worth retightening first.
We do both. Replacing a failed disposal is part of our garbage disposal work, and we also handle the trap, drain, and shutoff valves around it.
Call and describe the sink and what is under it now, and we will line up the next appointment when one is available.